Create your first Obsidian vault
In Obsidian terminology, a notebook is called a vault.
In the first part of Session 1, we create a vault and learn basic Obsidian features. The official documentation is excellent. If you get stuck, you’ll likely find the answer there. You can also follow Exercise 2 Basics step-by-step to set everything up.
In this session we look at:
- Creating a vault
- Understanding the workspace
- Creating notes and writing using Markdown
- Linking notes
- Adding attachments (images, screenshots) and setting an attachment folder
- Searching your vault
- The Obsidian search is really great. You can use it to search for text, but also for tags, links, and more.
- Using tags
- Using the command palette (Ctrl/Cmd + P), for example:
- Insert table
- Export to PDF
- Toggle light/dark mode
Recommended settings (optional)
You can open Settings via the gear icon in the bottom-left corner.
Hide the inline title (optional)
By default, Obsidian shows the note title as the first line of the note. To turn that off:
Settings → Appearance → Interface → Show inline title
Change the theme (optional)
Settings → Appearance → Themes → Manage
Browse, install, and switch themes (you can always switch back).
Set a folder for attachments (recommended)
By default, attachments are saved in the main vault folder. To keep things tidy, create a dedicated folder and tell Obsidian to put new attachments there.
- Create a folder for attachments (e.g.
attachmentsorzzz_attachments) - Open Settings → Files and Links
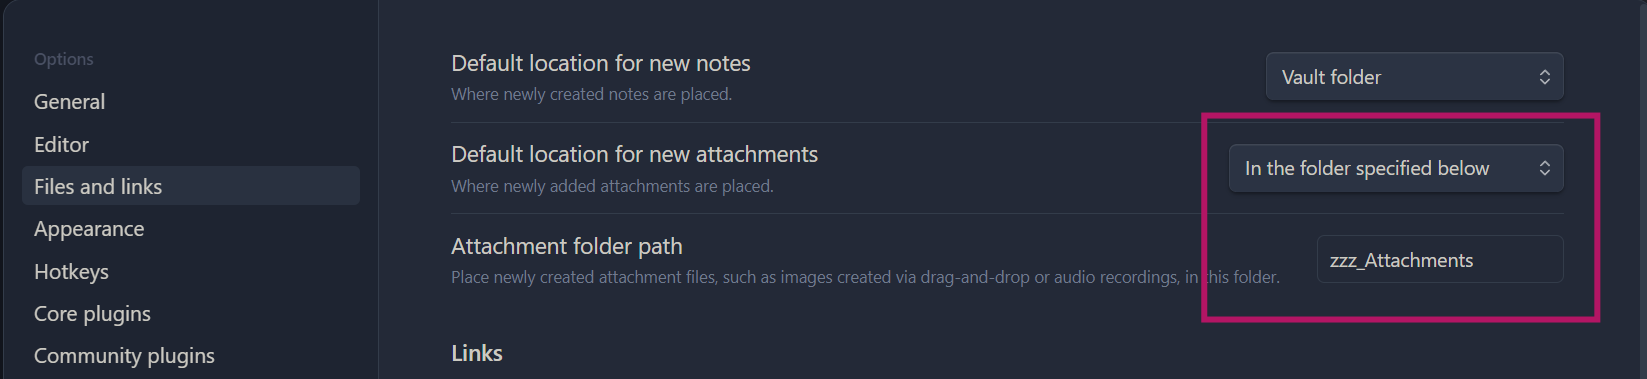
- Set Default location for new attachments to In a folder specified below
- Enter the attachment folder name (spelling must match exactly)
The setting should look like this:
Back to Overview